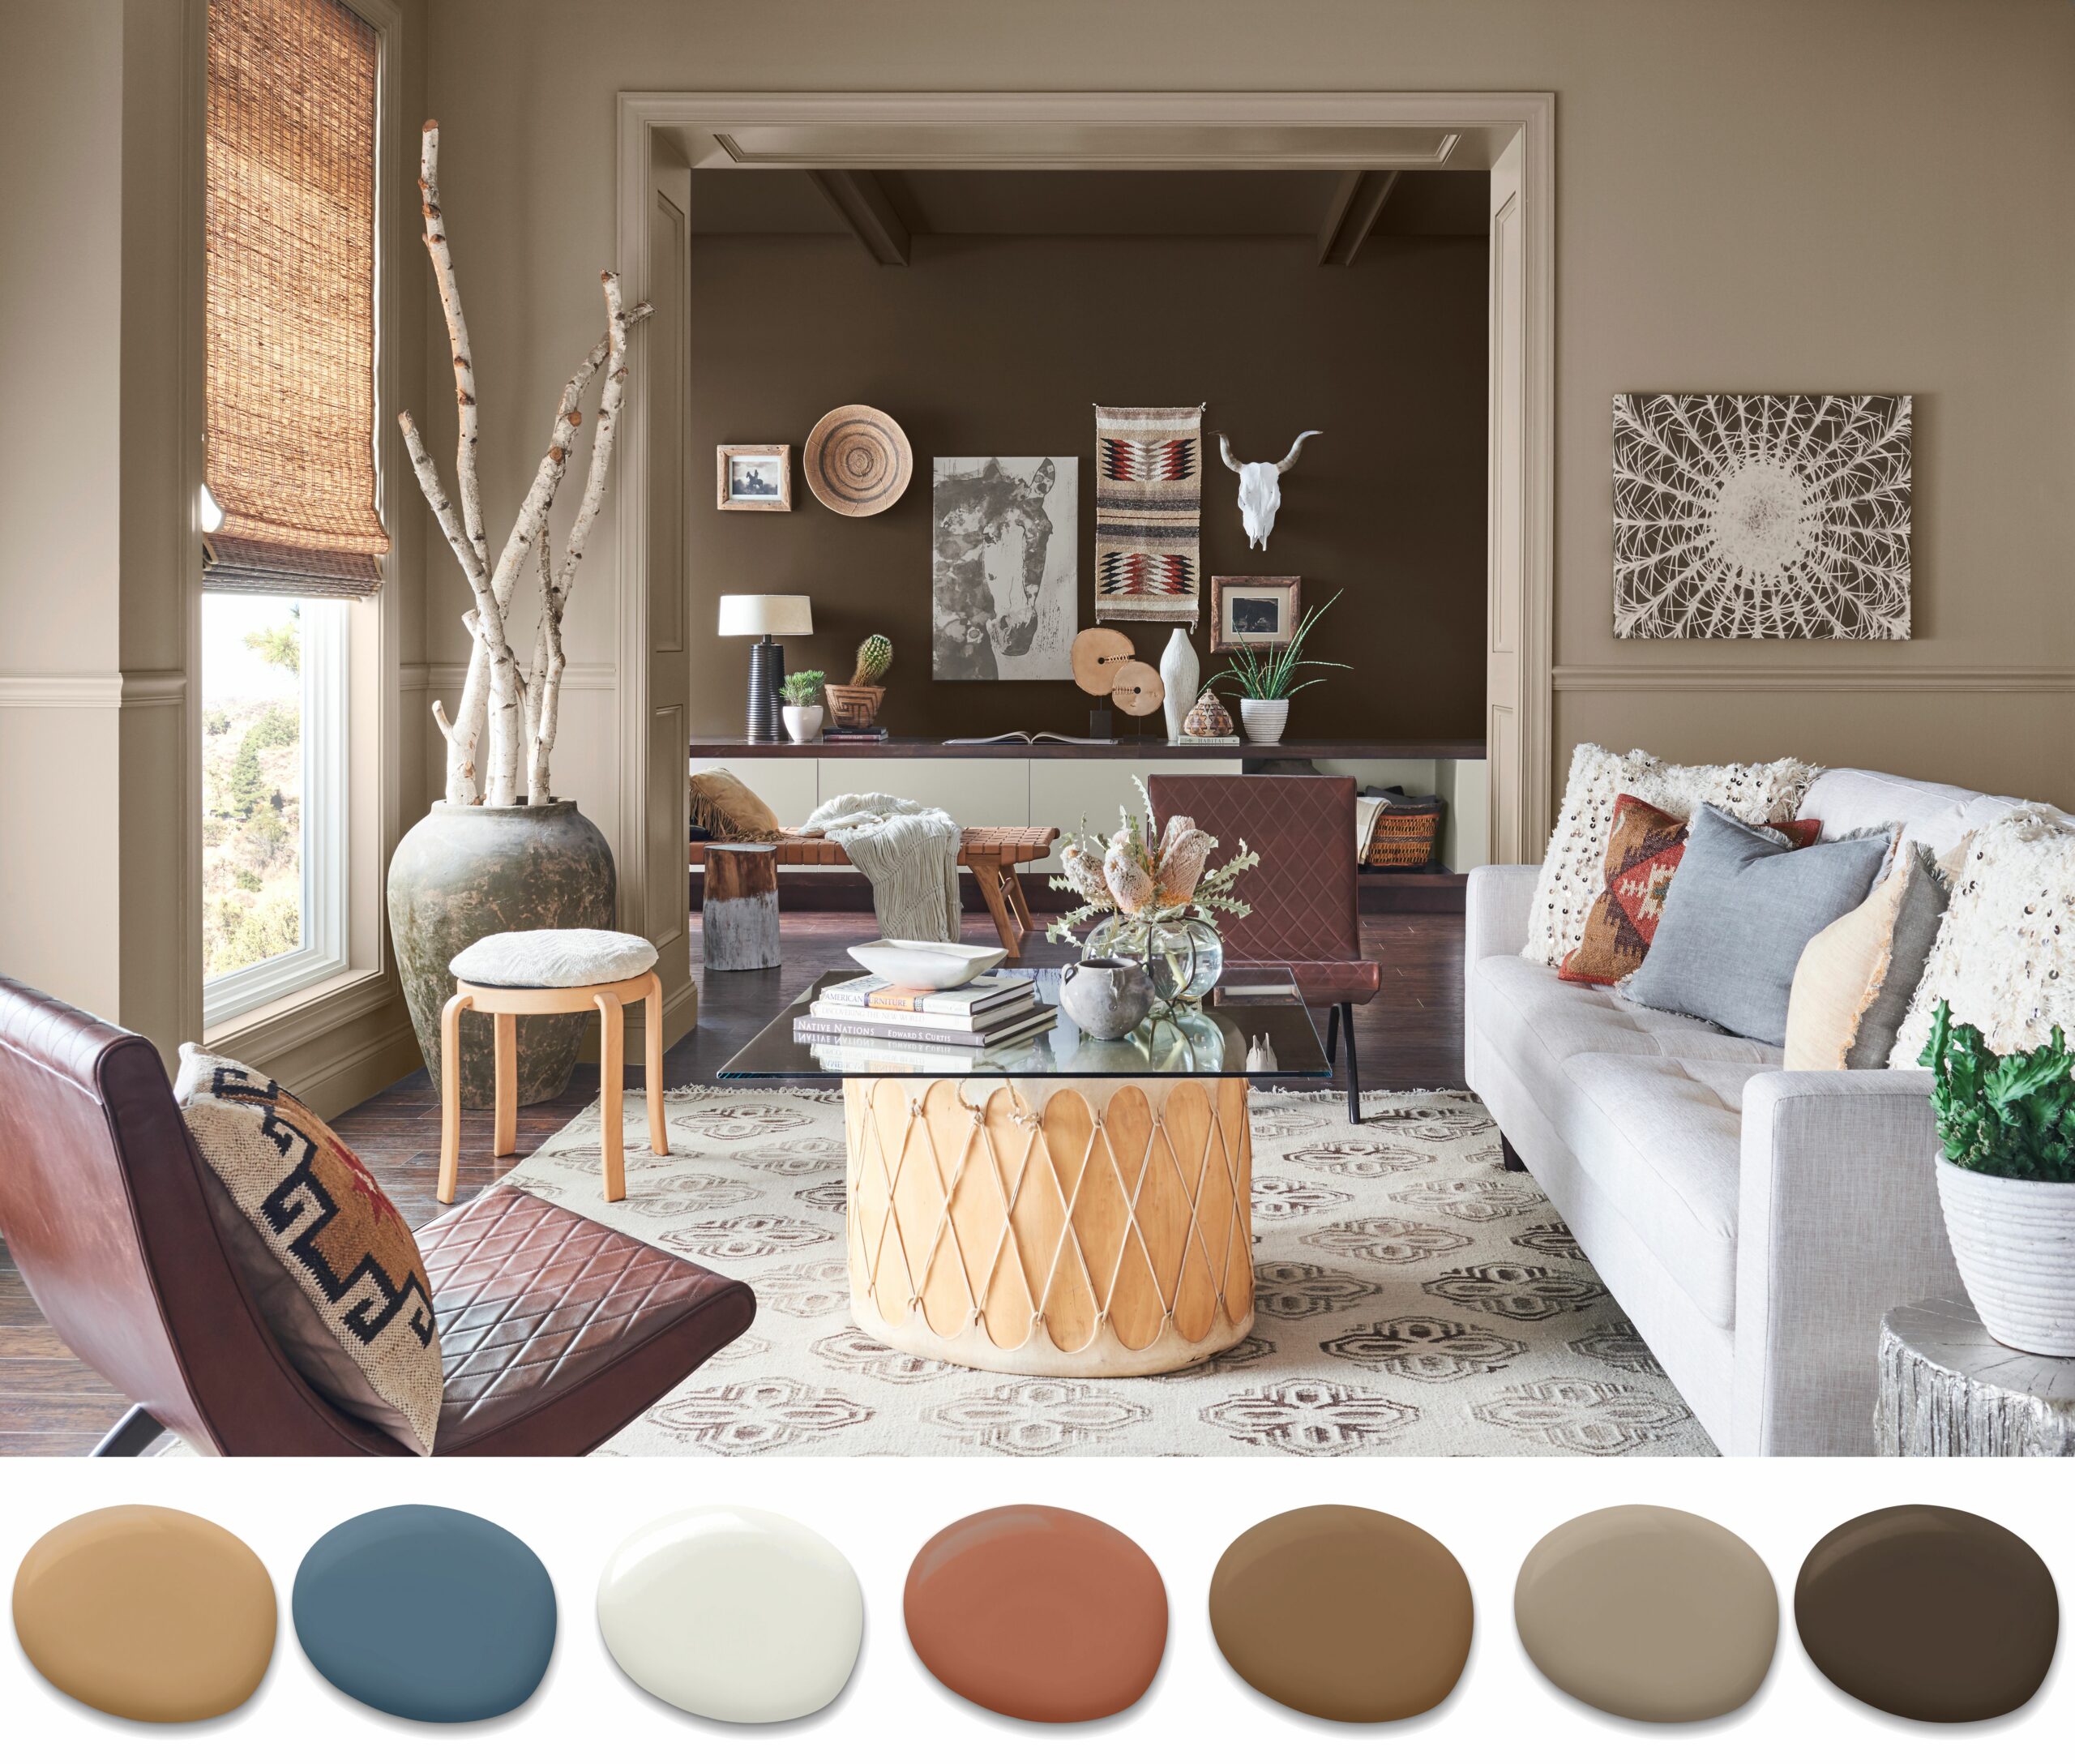
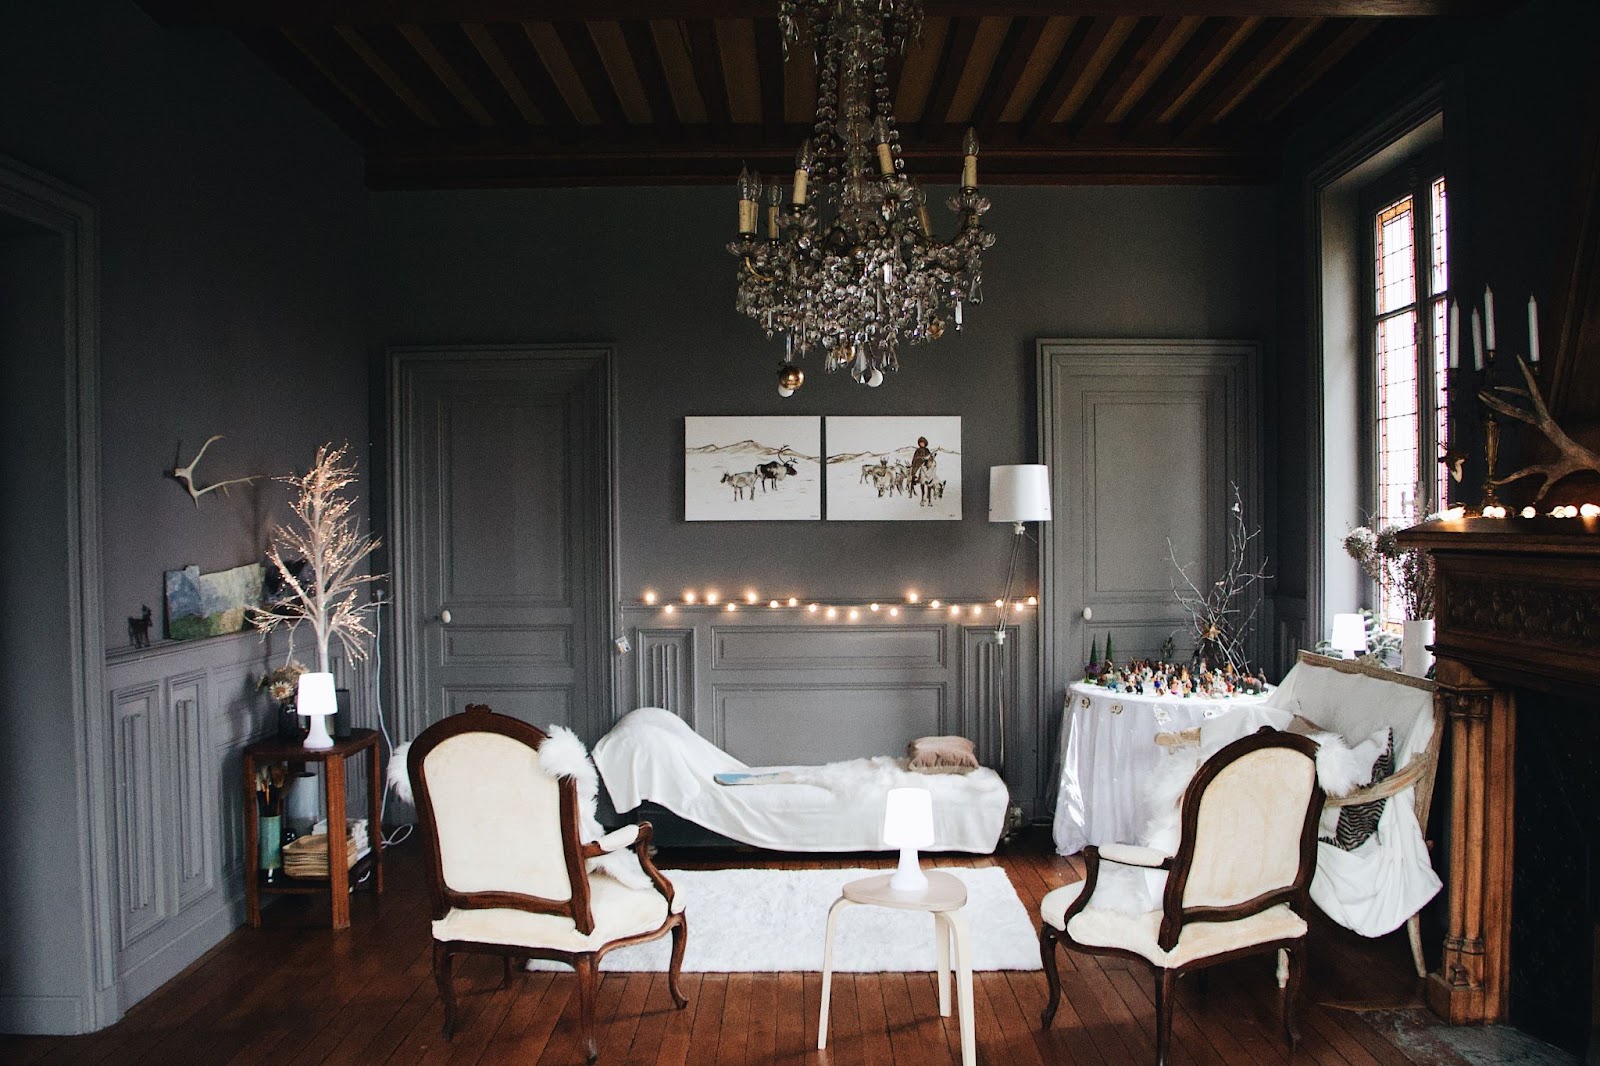
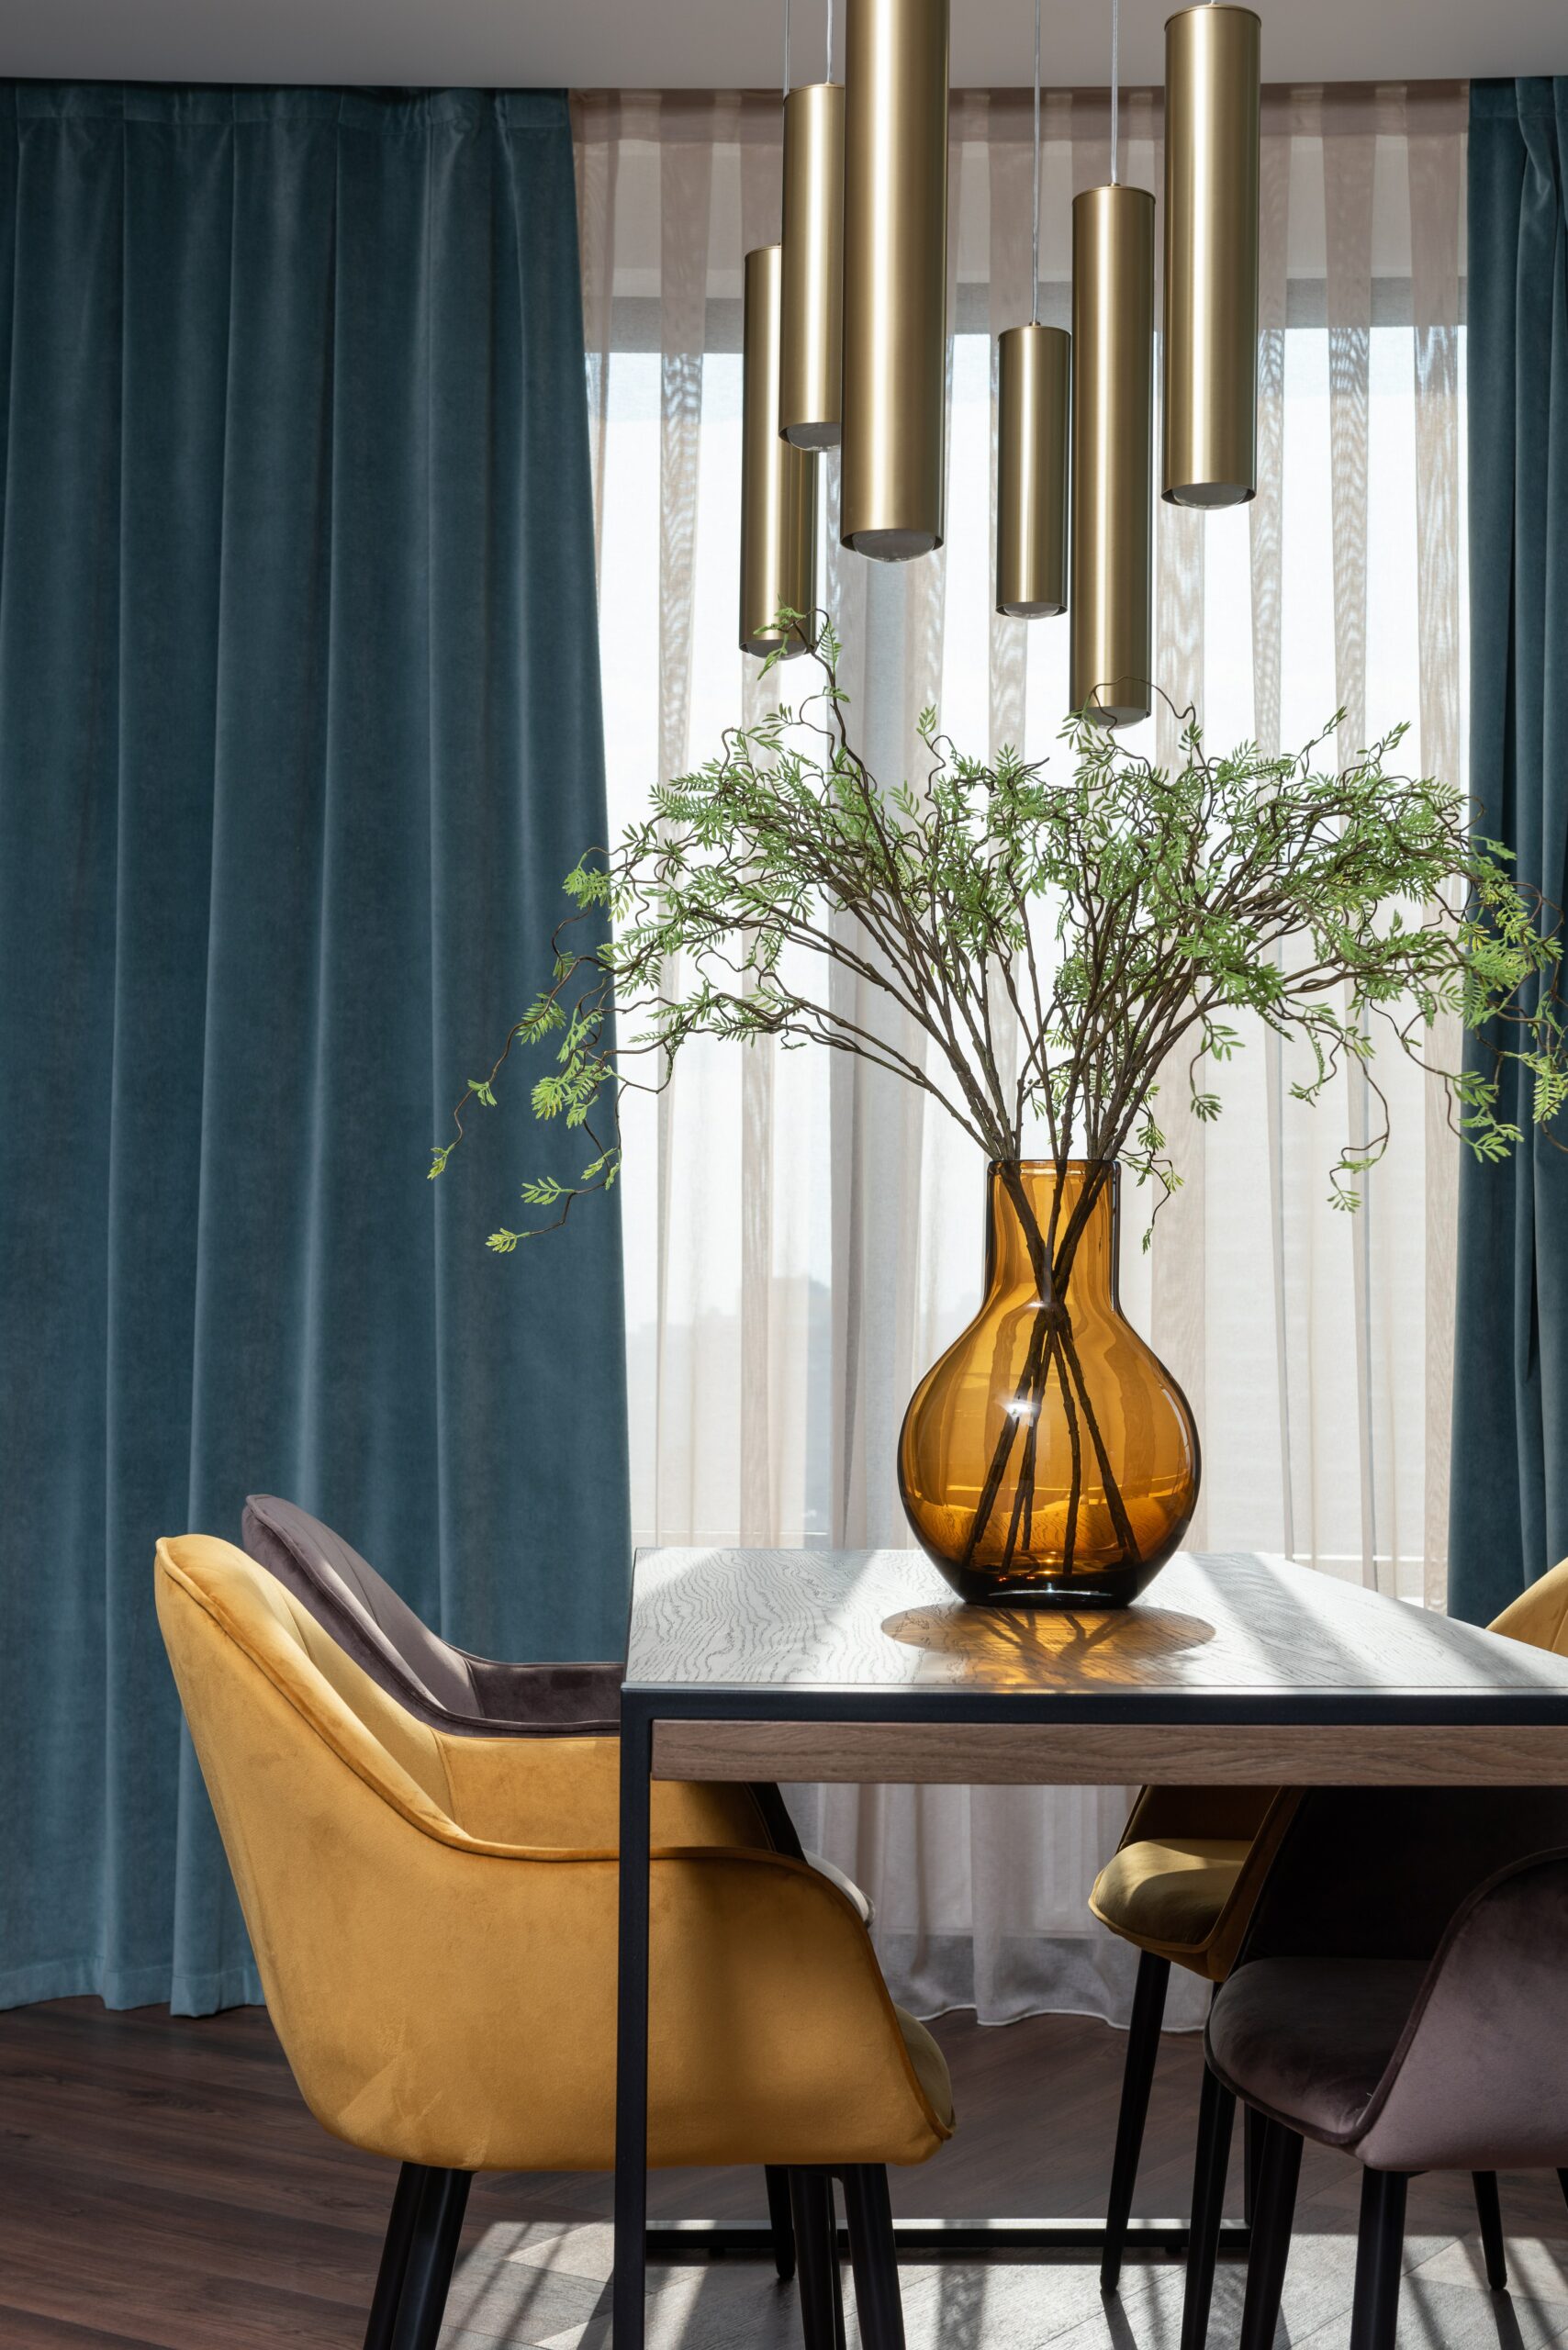
Beyond Millennial Grey: 7 Warm Paint Colors Making Homes Feel Truly Lived-In This Year 2026
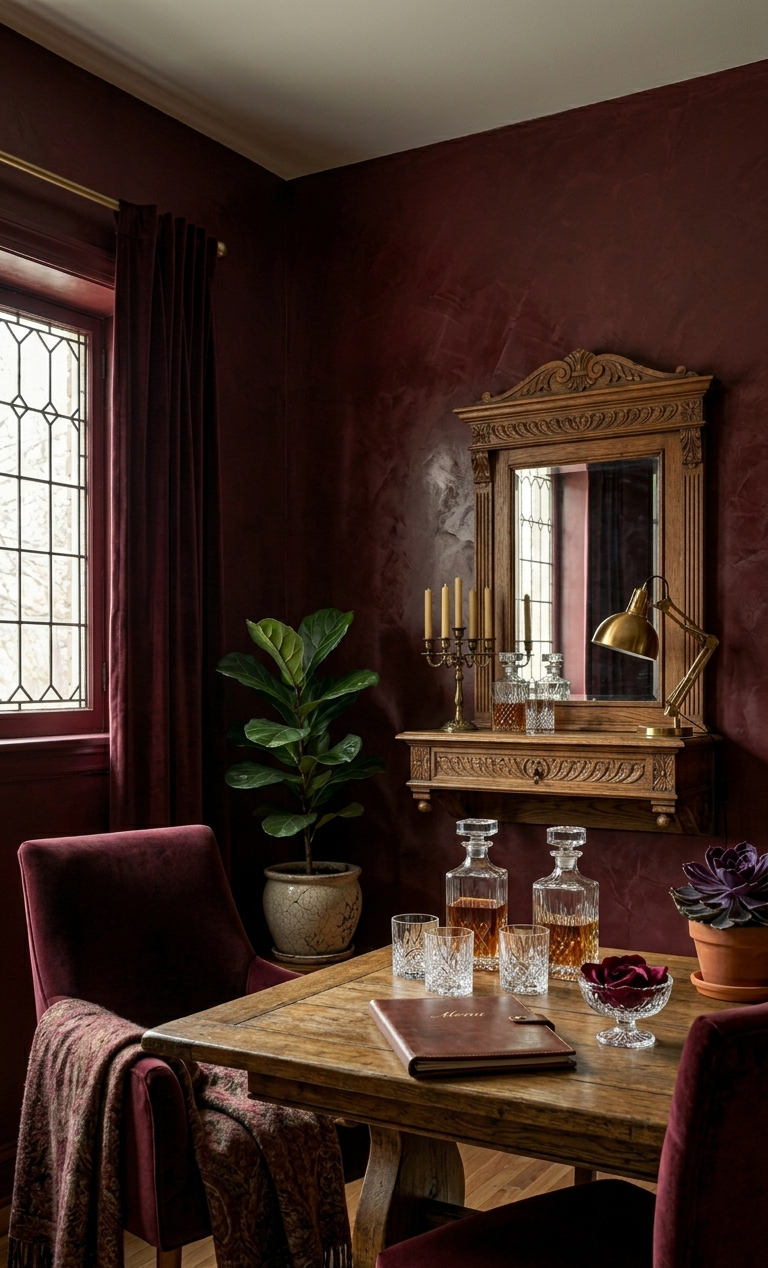
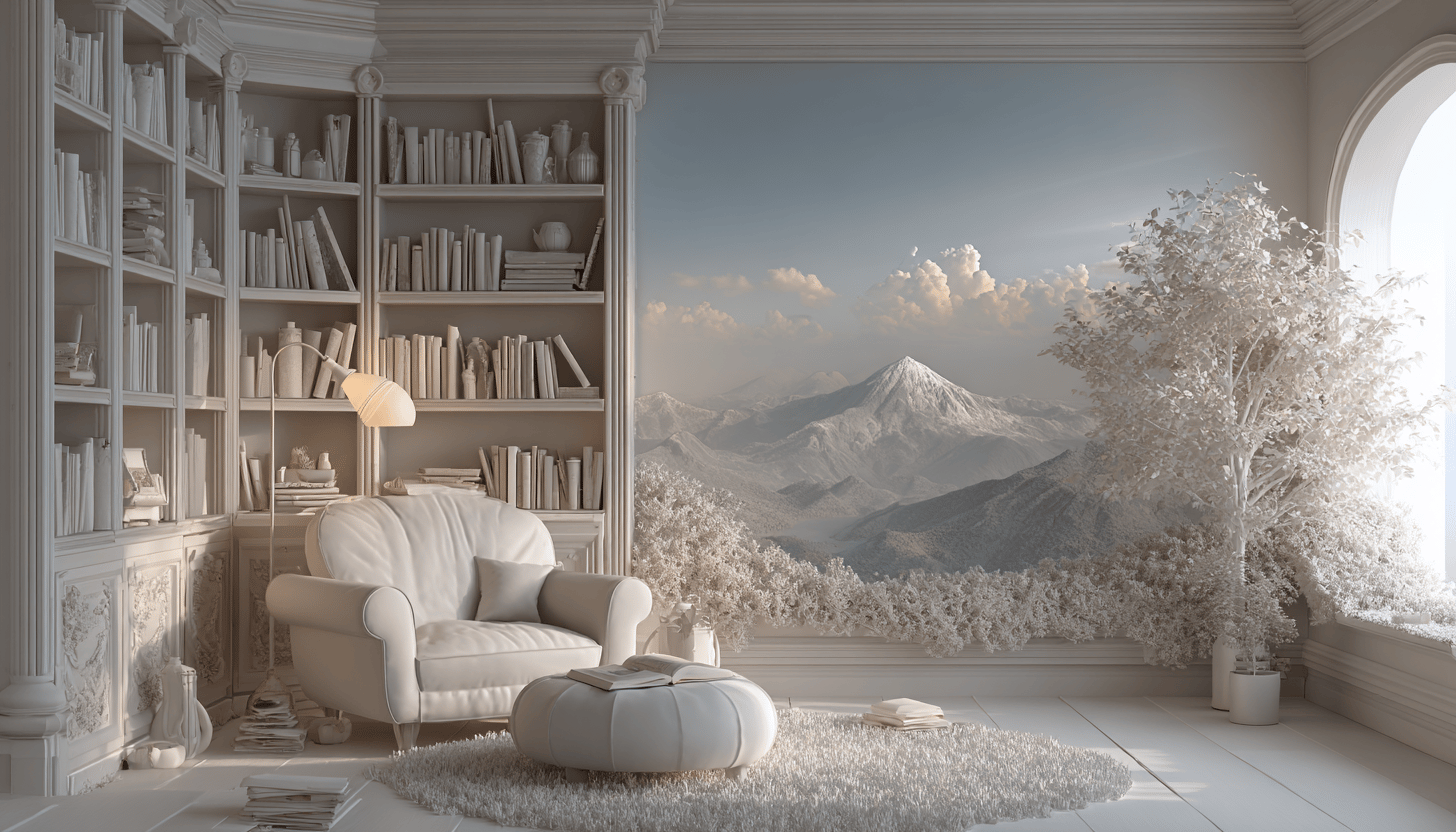
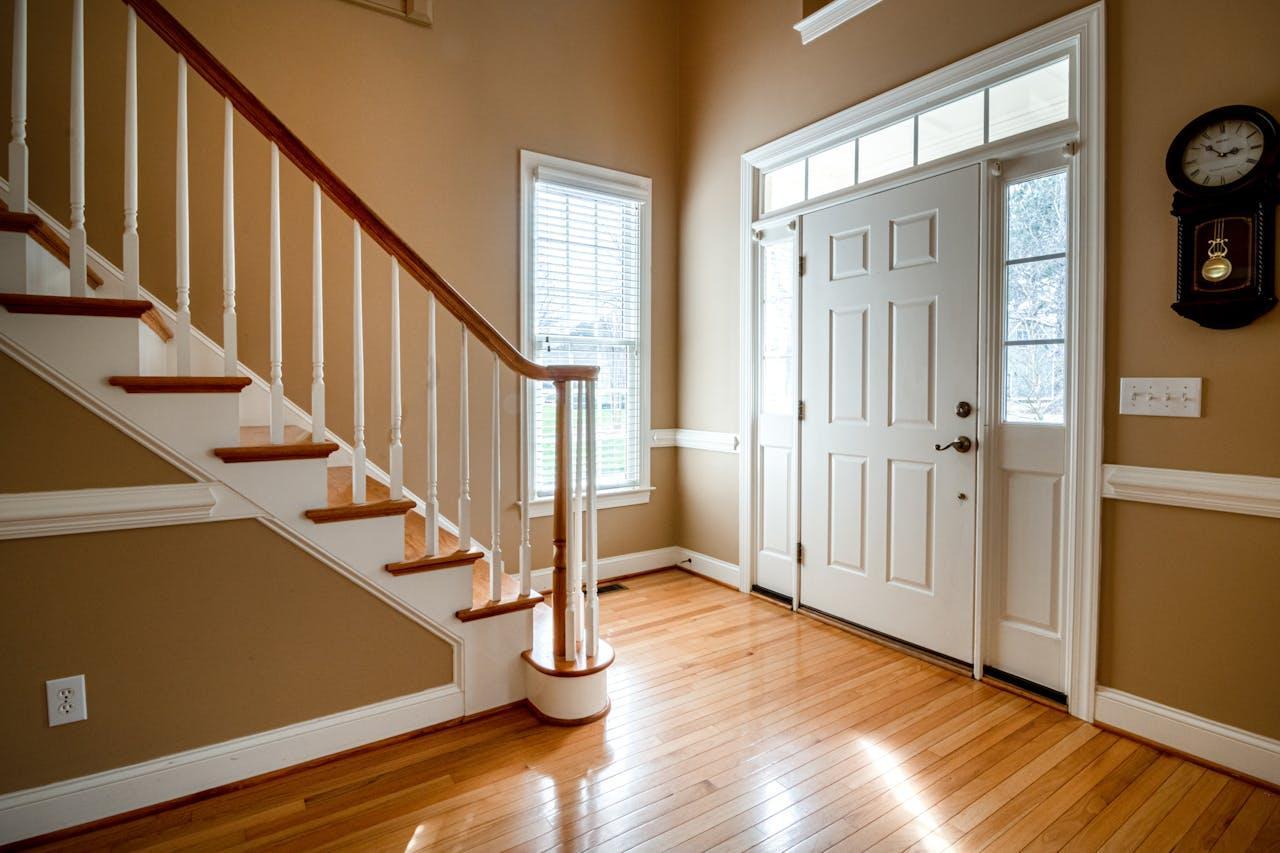
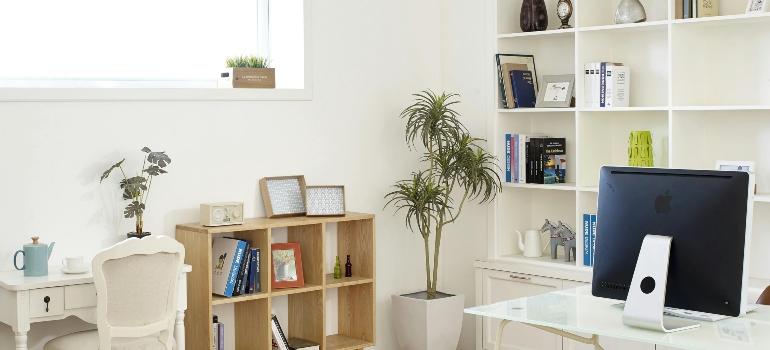
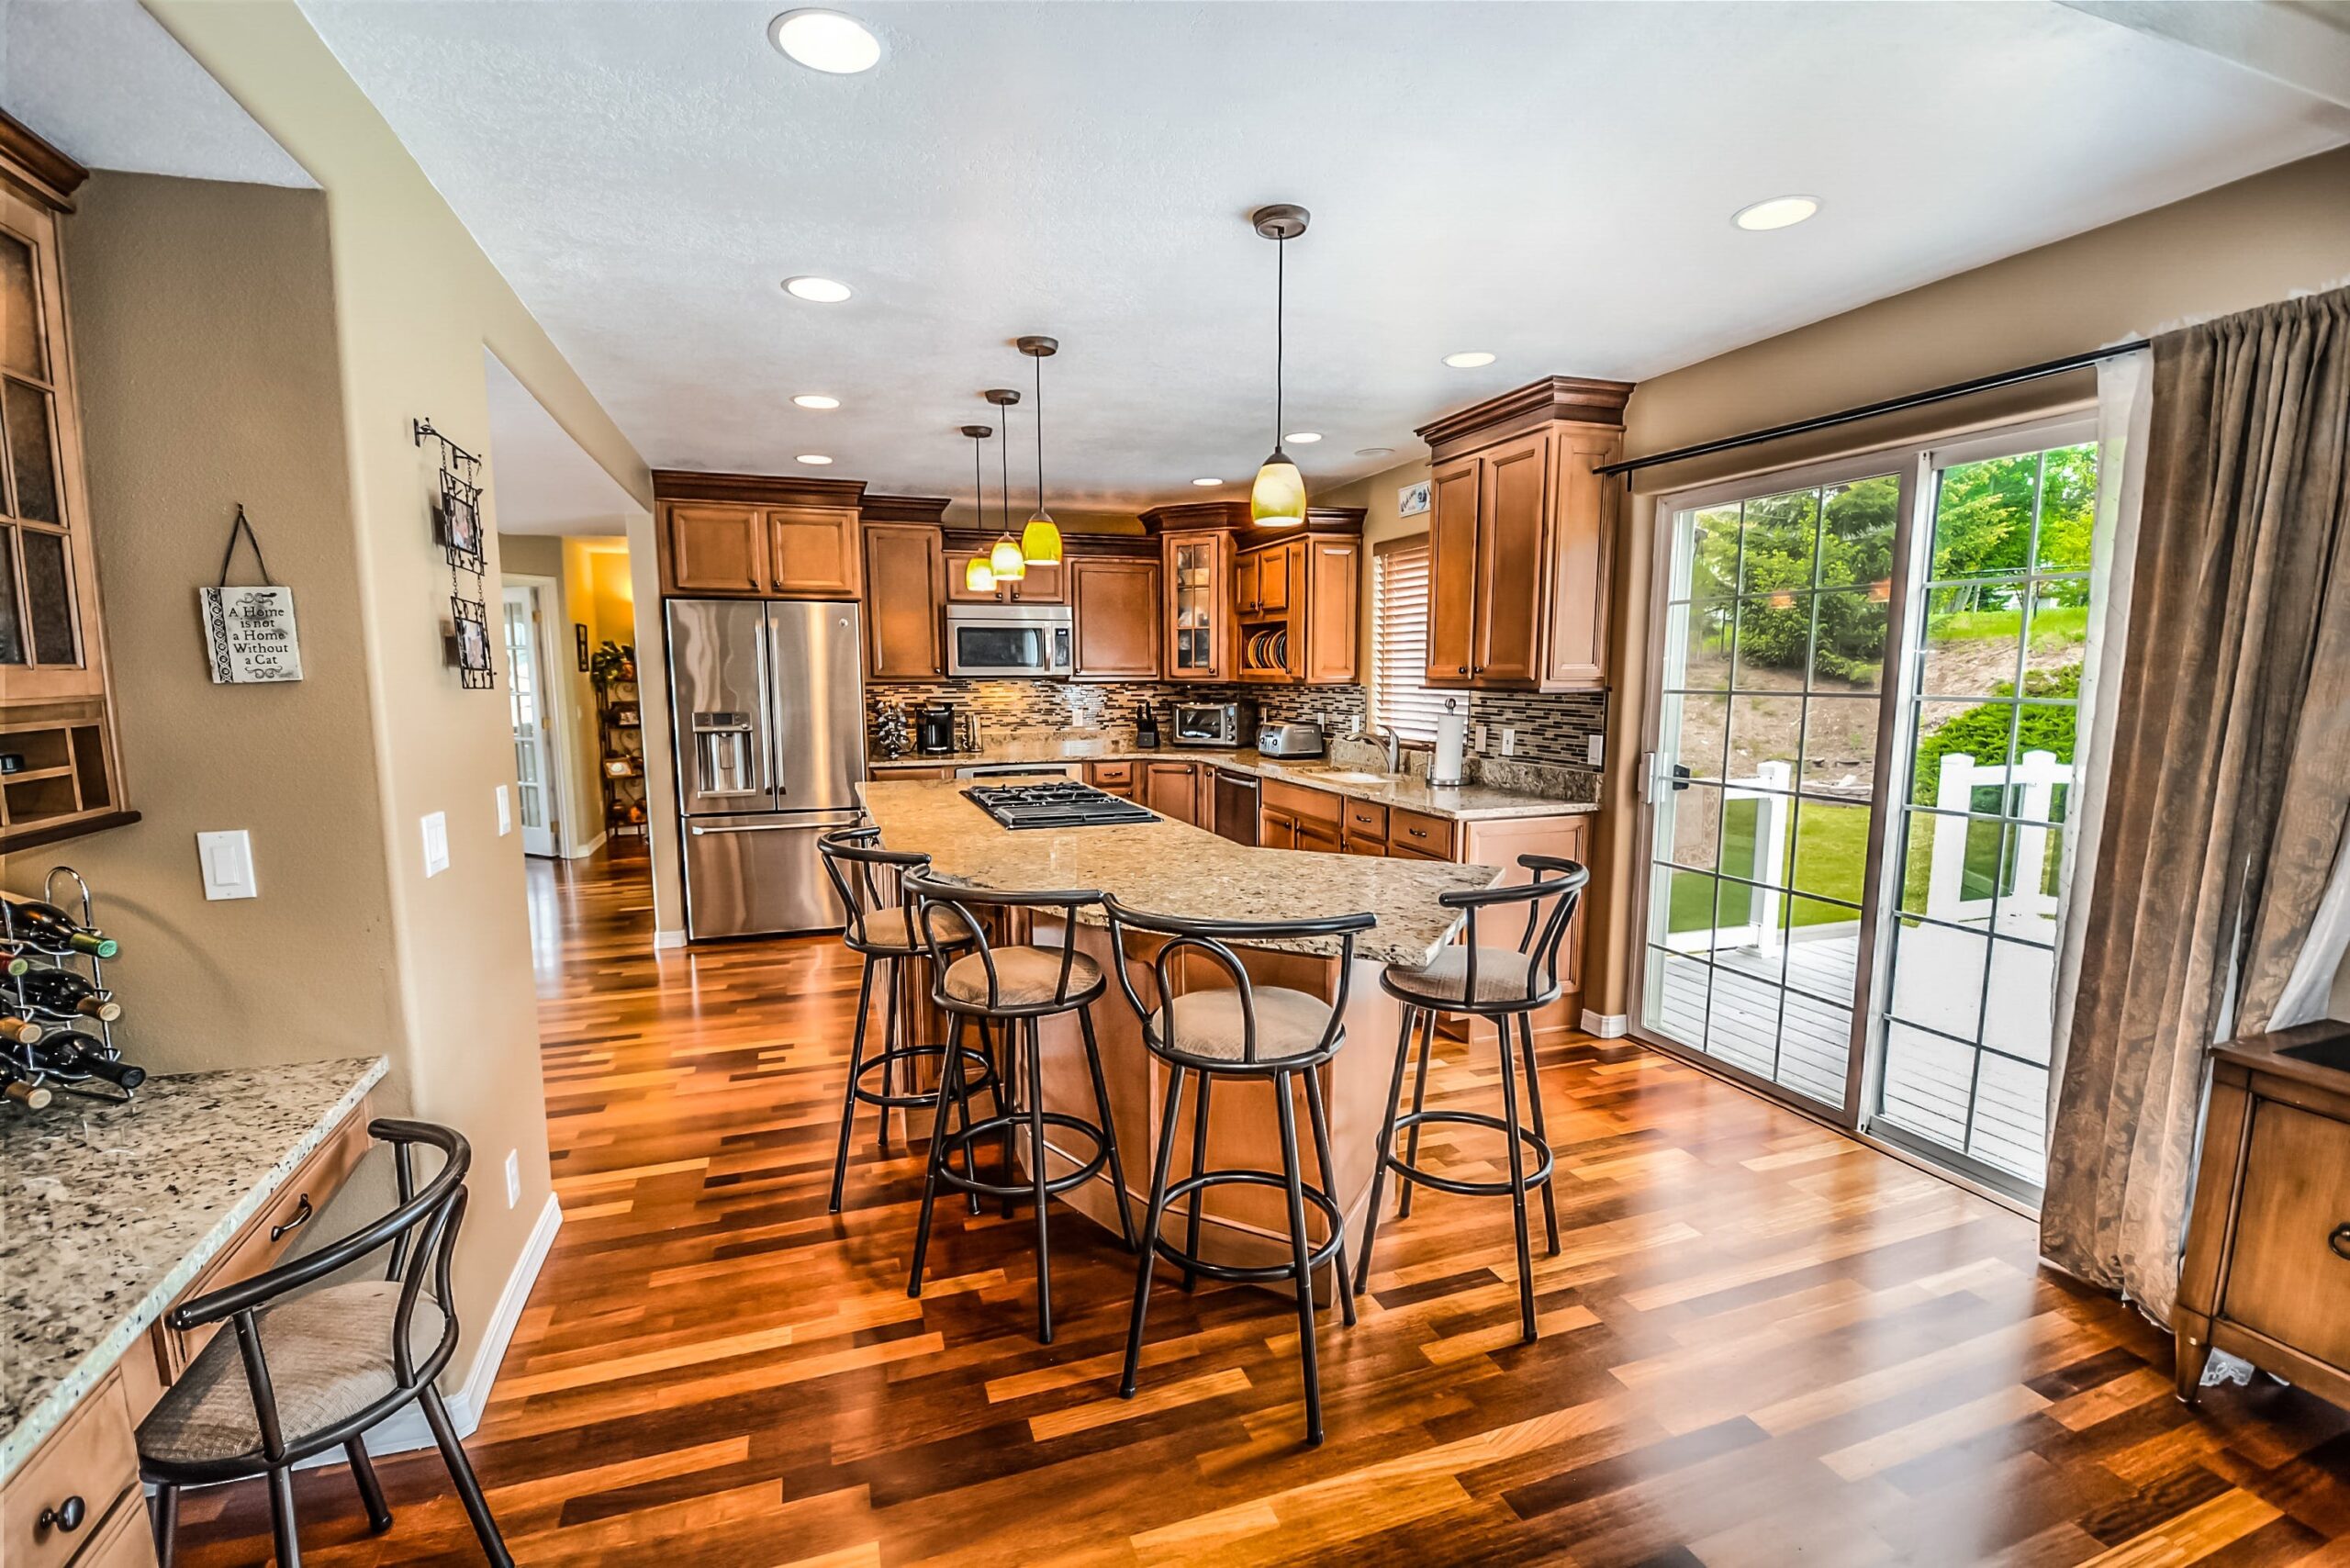
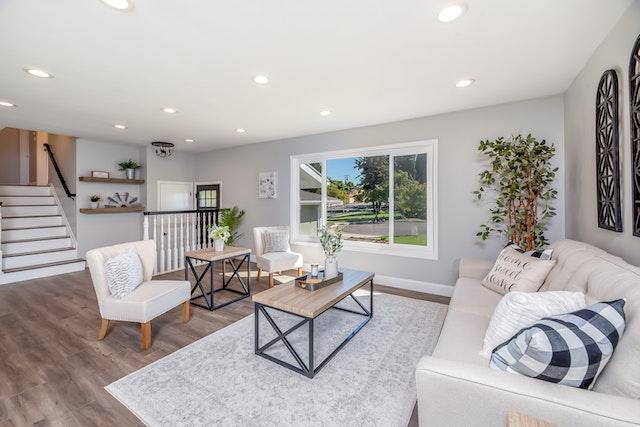
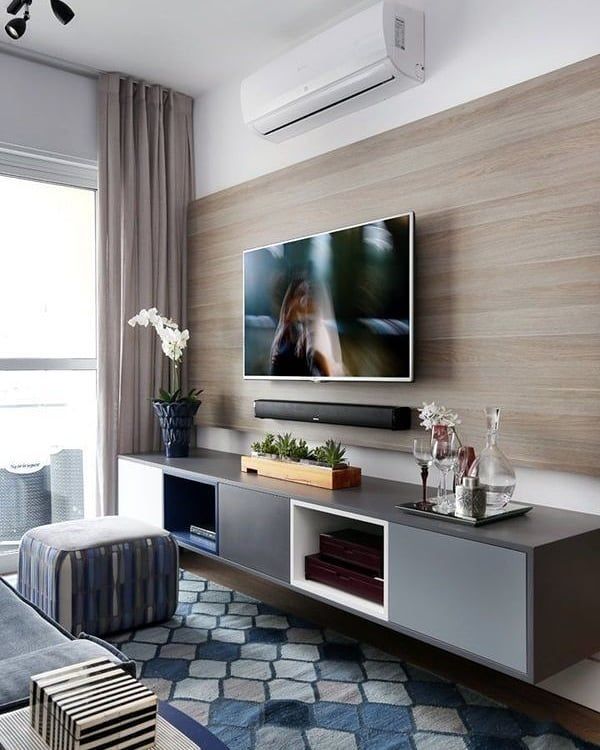
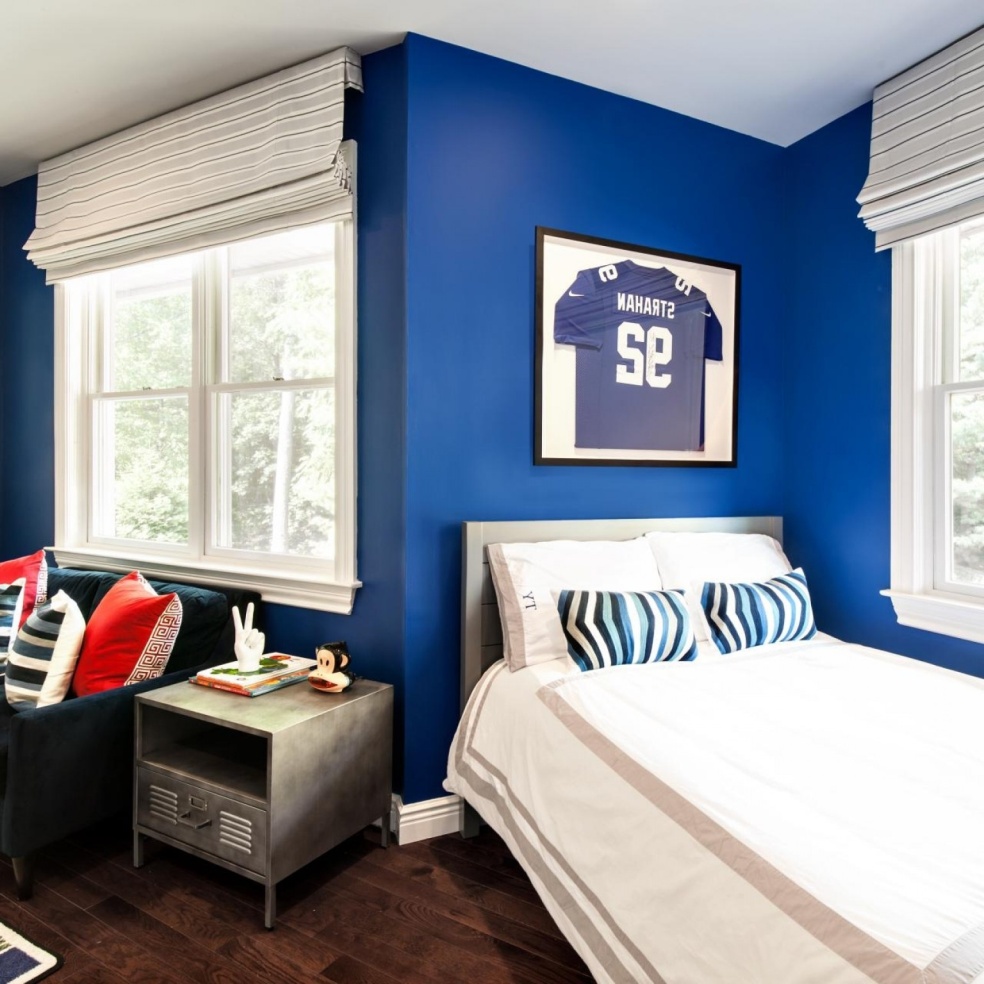
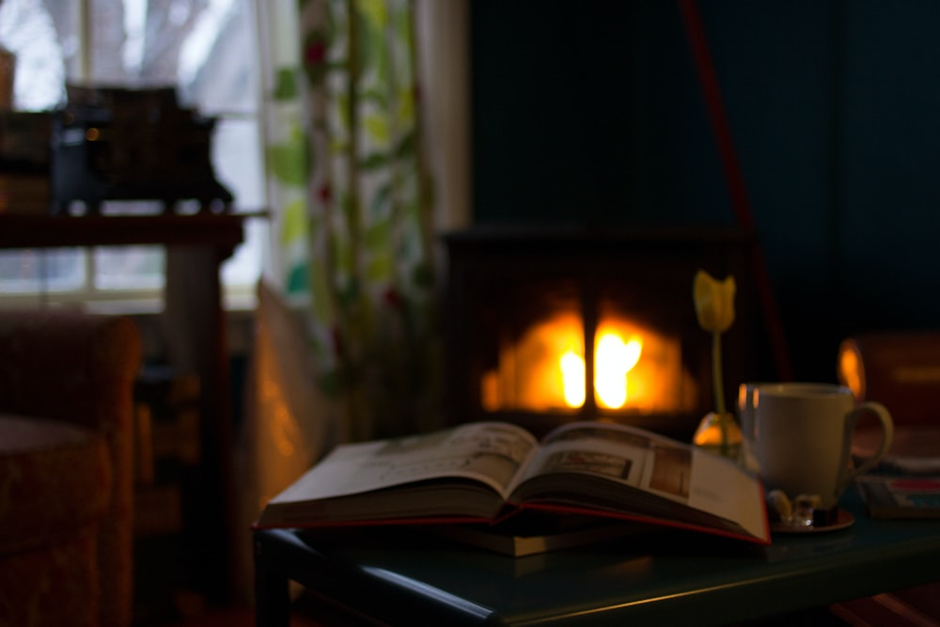
If you walk into a newly renovated home today, you will notice a massive shift. The cold, sterile “hospital-chic” look that dominated the early 2020s is officially on its way out. Homeowners are tired of living in flat, colorless boxes that offer zero emotional warmth. When we consulted with clients during our recent design projects, … Read more